- Get link
- X
- Other Apps
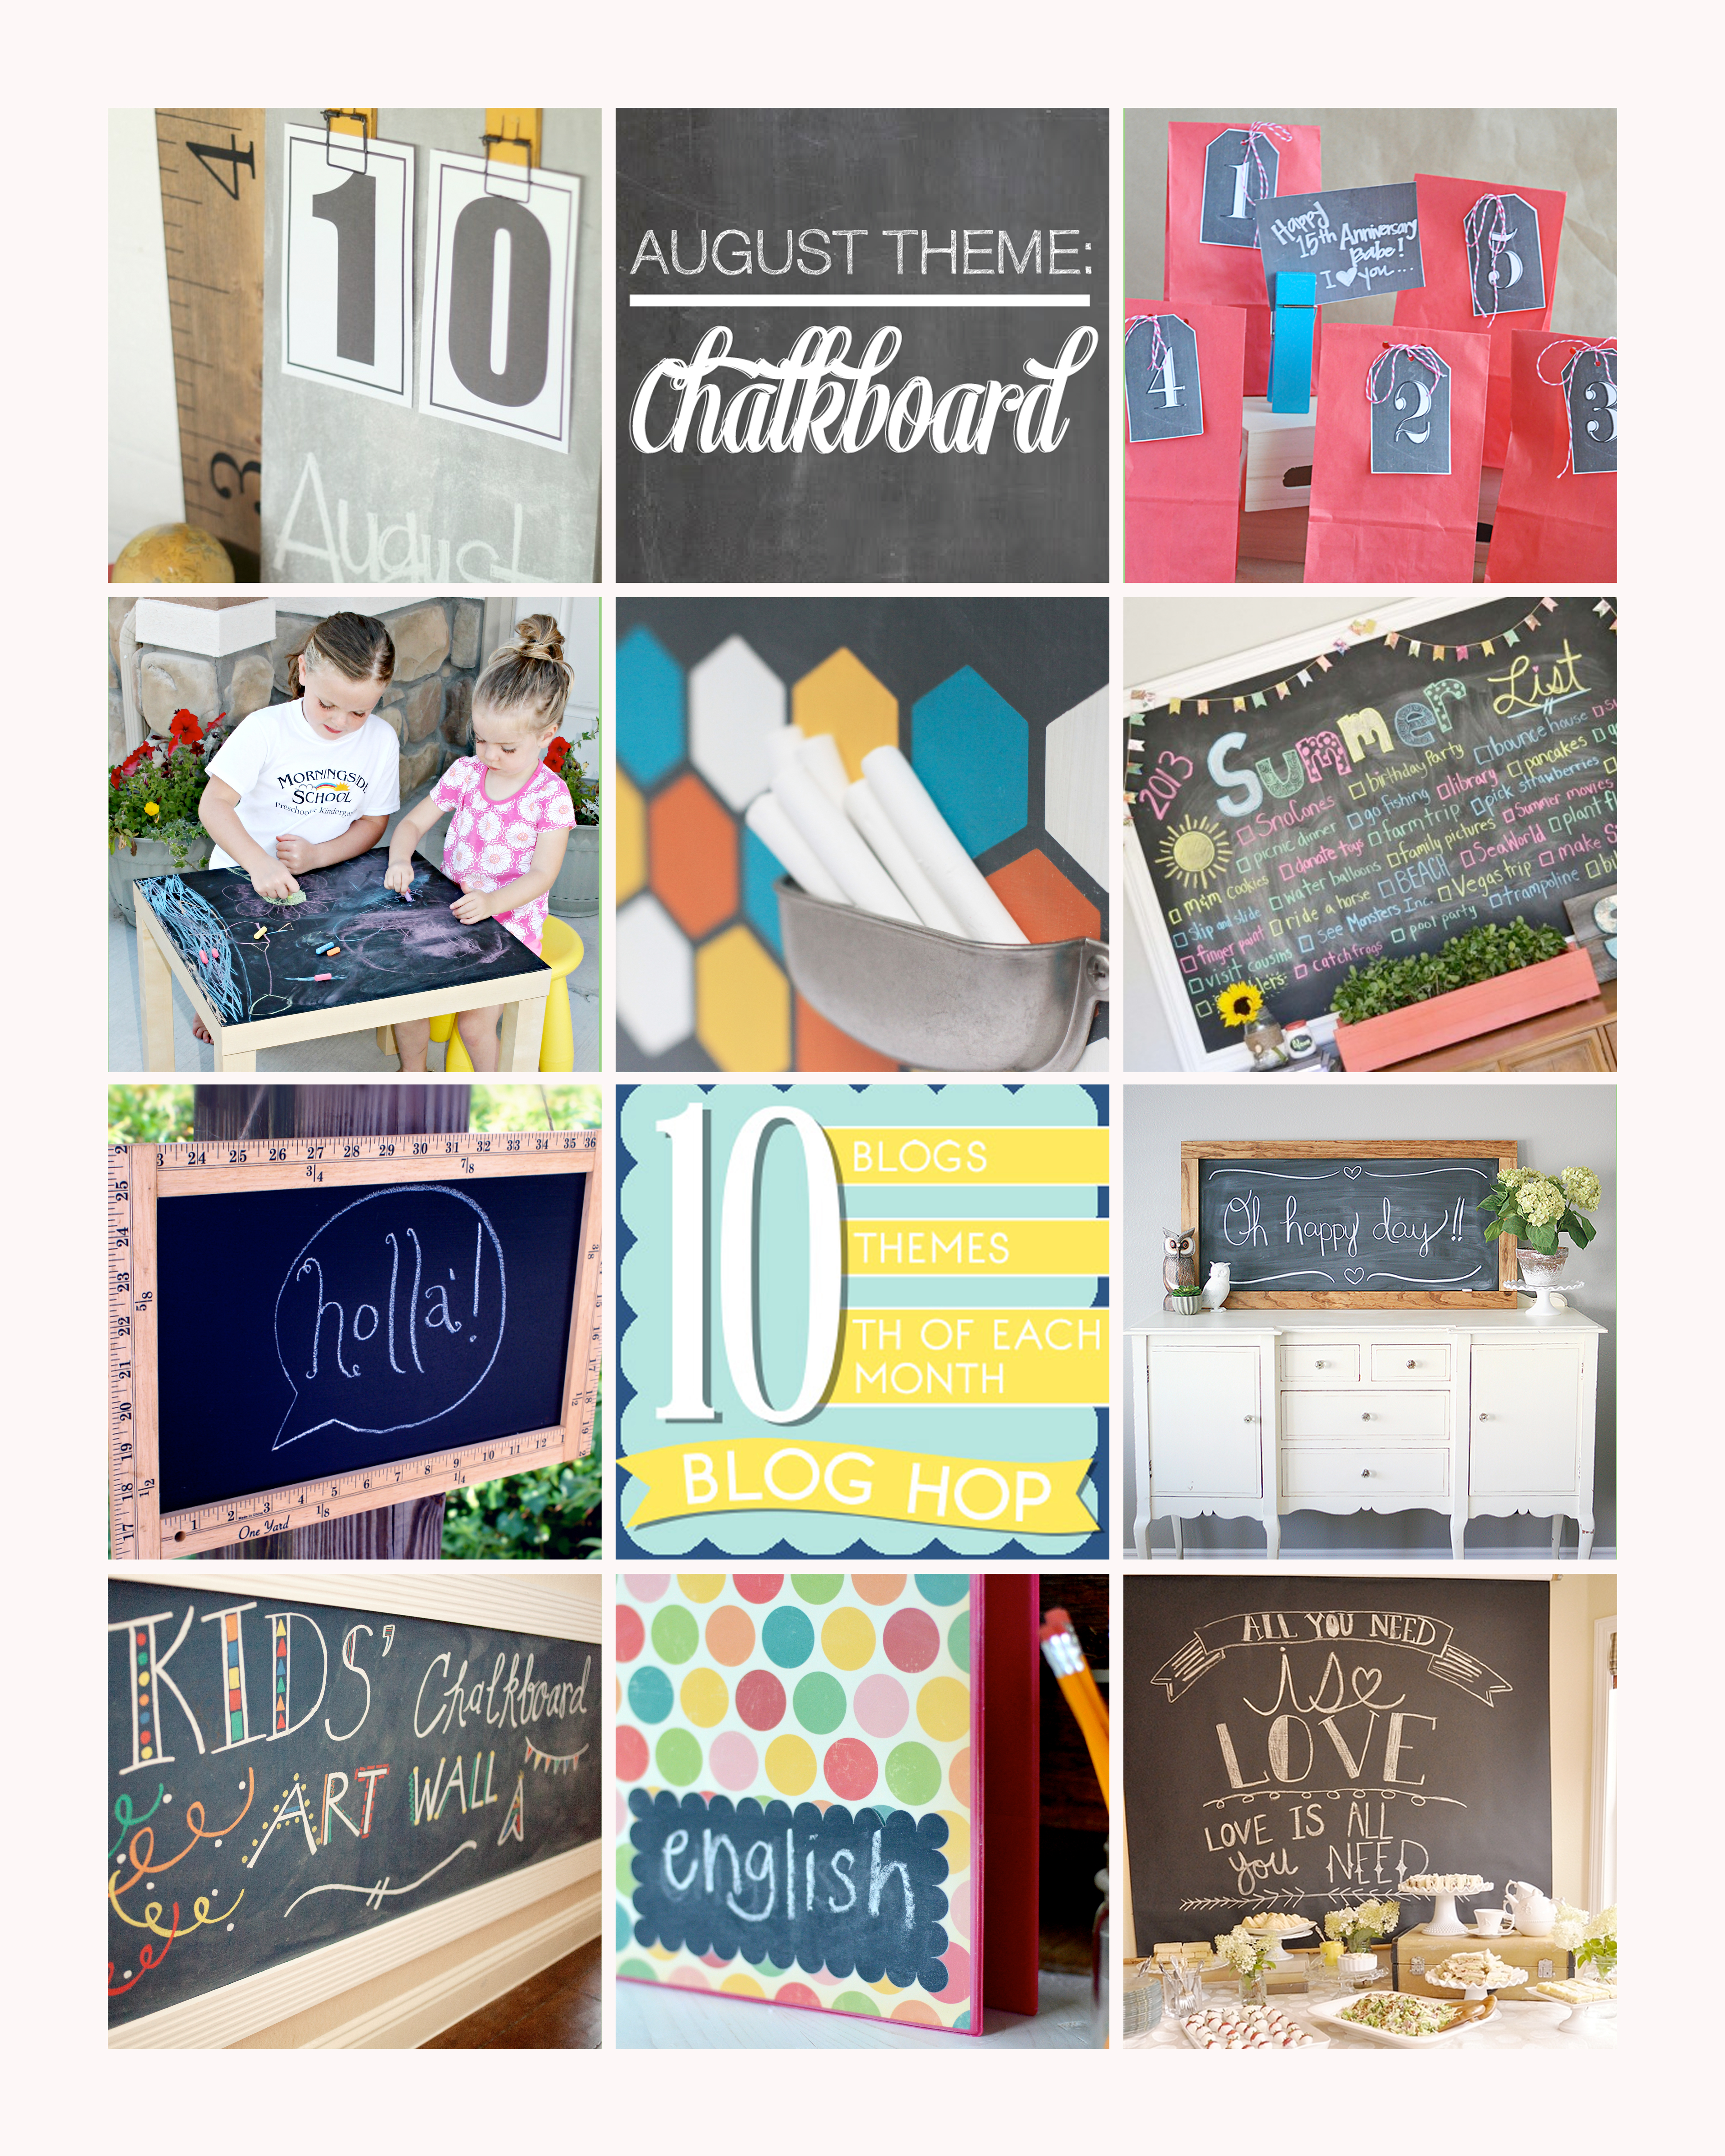
To see each fantastic Chalkboard Project up close, join the Blog Hop! These are numbered from the top left corner going across, then the second row.
1 • Lolly Jane sharing a Chalkboard Calender
2 • Thirty Handmade Days with an Anniversary Idea + Collection of Printable Chalkboard Tags
3 • Six Sisters Stuff sharing a Cheap and Easy Kids Chalkboard Table
4 • Landee See Landee Do sharing a Hexagon Chalkboard
5 • Little Miss Momma sharing a Jumbo Chalkboard Tutorial
6 • Or So She Says sharing a Vintage Ruler-Framed Chalkboard Sign
7 • Eighteen25 sharing a Super Simple XL Chalkboard
8 • Capturing Joy sharing a Kids Chalkboard Wall Art
9 • Simply Kierste sharing her Chalkboard Binder Labels
10 • Your Homebased Mom sharing a Chalkboard Party Backdrop
Now, onto my chalkboard project. My kids LOVE their new chalkboard wall! In Texas, we have always had textured walls, and I never thought about how tricky it would be to write on it because…well….I don’t normally write on the wall. I was so excited to find a great tutorial tip for fixing that issue without using heavy boards in making a chalkboard surface. Pig and Paint has a great tutorial, and I’ll share a few other tips in my step by step
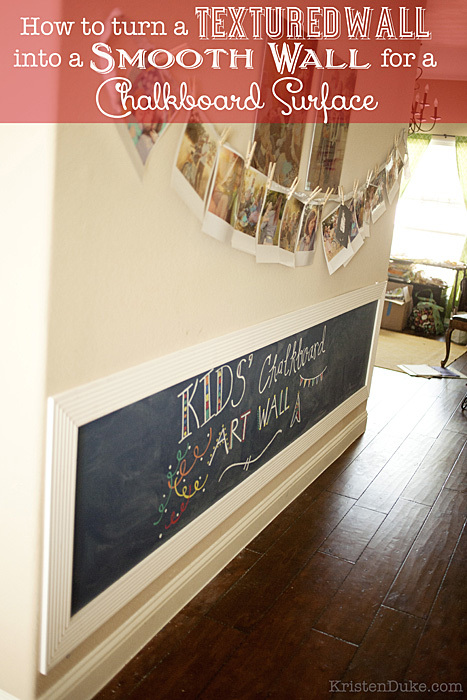
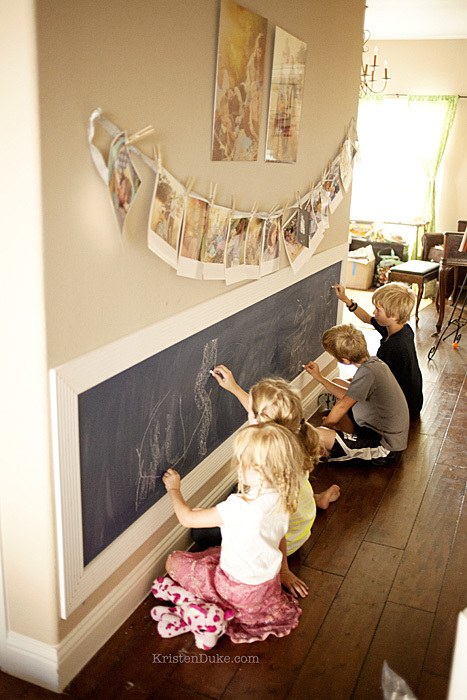
I have this very un-used space in my home, it’s a long hallway that connects our living room (that is supposed to be a dining room) to our kitchen. It’s a narrow hall that wouldn’t do well with any type of table, so I’m trying to make the walls interesting and usable. Since I love Decorating with Portraits, I’ve put a bunch of family pictures through the years on both sides of the wall. A few weeks ago, I pulled out the long roll of art paper that I have, and randomly decided to tape it to this wall and the kids had fun coloring. It triggered the idea to make this space more fun and useable and turn it into a Kid’s sized chalkboard art wall! Kids sized because it’s low to the ground and easy access for them to color away.
Here is a little collage of the process (taken mostly at night with a cell phone):
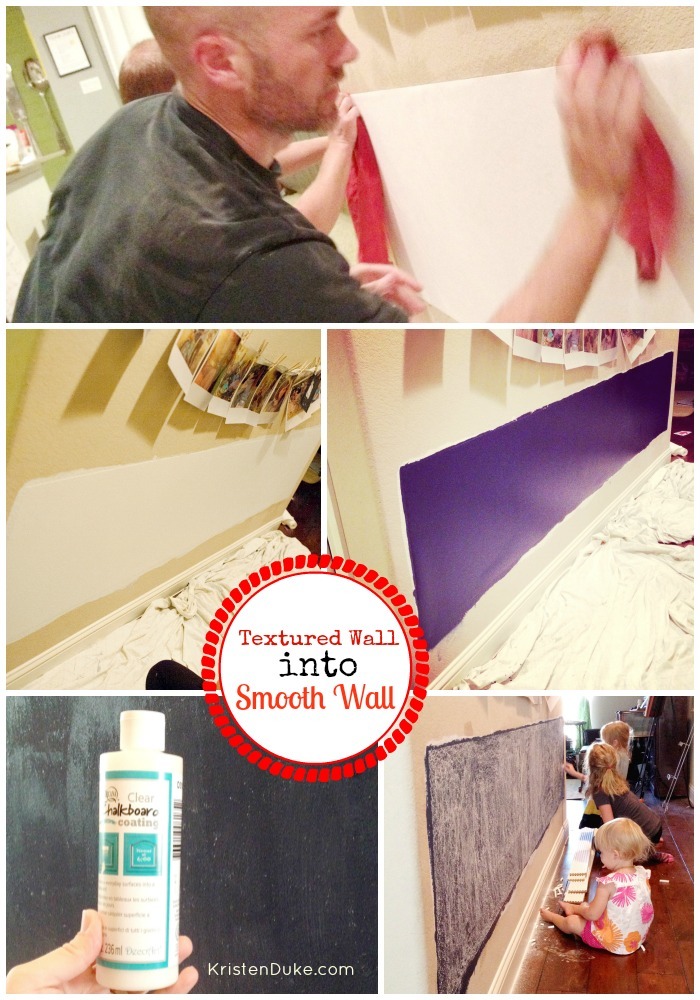
Steps
- Adhere Paper wall liner to desired spot (this was the hardest part because ours was so wide, a few helping hands is ideal. See how to put this up on Pig and Paint post.
- Prime the liner with primer
- Paint the color paint you’d like as your chalkboard surface (I used Navy Blue). Any paint, doesn’t have to be chalkboard paint
- Paint a second coat of color for a richer look
- Paint Clear Chalkboard Coating (Americana brand found at Hobby Lobby) going horizontal
- Paint Clear chalkboard coating going vertical(making sure it covers entire surface)
- After it dries 24 hours, cure the paint by coloring in the entire surface with chalk (bottom right image in collage)
- Write with chalk and have fun!
After the chalk surface was all ready to go, I framed out the edges. I looked at my options at my local Home Depot and settled on the same trim that we used to frame out the window in my Girls Fancy Bedroom Makeover. It’s a nice decorated 4 inch trim, though I got so much, it was a good $50 at checkout. You pay by the foot. Oh well, you win some, you don’t win some. I loved it (and they already cut it for me) so I moved forward. I like to make as many projects as possible–family projects. I’m still learning to use power tools and feel confident with measuring and such, and pulled the kids in to help.
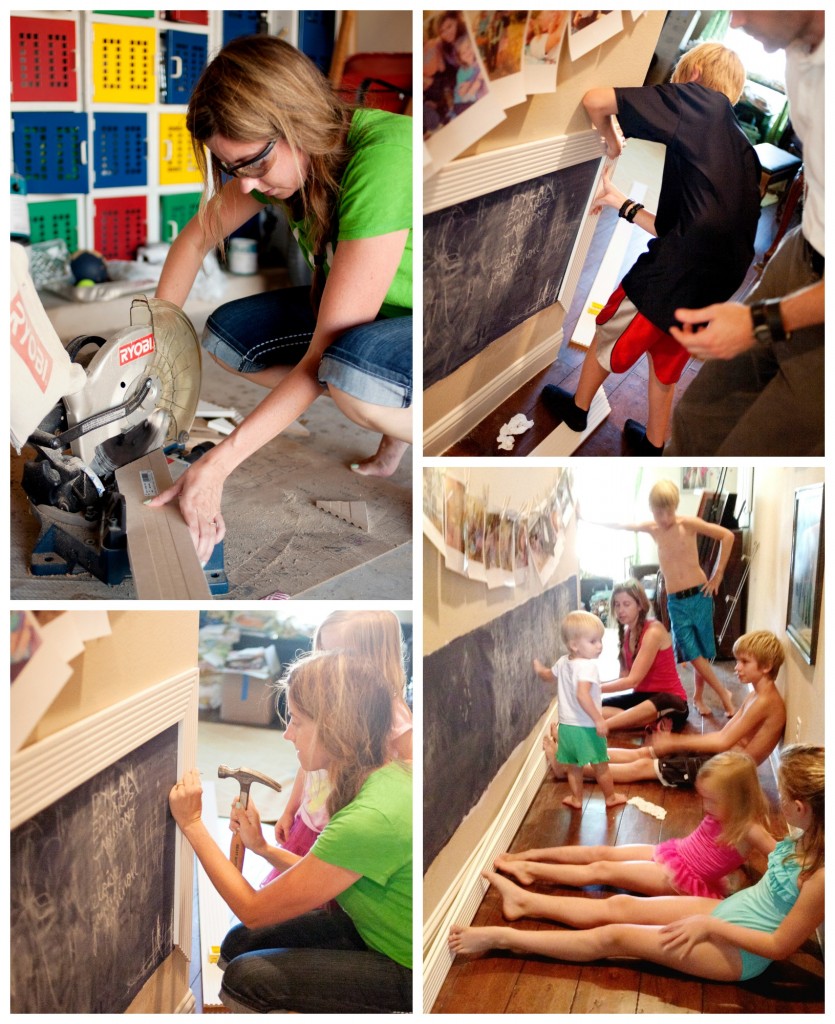
In the bottom right picture, we were about to go to the pool when I had just cut the trim and wanted to measure it up on the wall. I needed all those extra hands (and feet) to help hold it up! Once it was nailed up, we were all done, wahoo!!
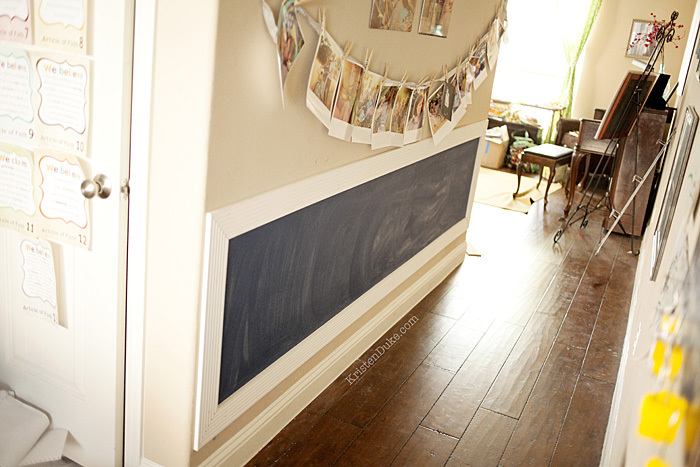
Though it’s hard to tell from the picture, I used a navy blue color for the chalkboard wall because it matches the hues of the adjoining room, you can see my Family Room Makeover with blues and greens.
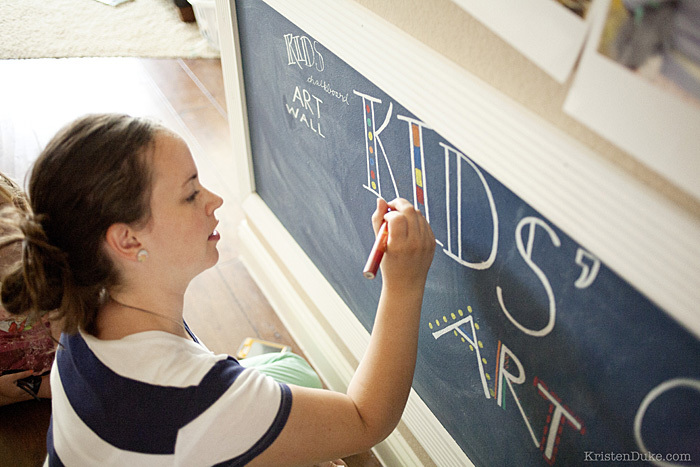
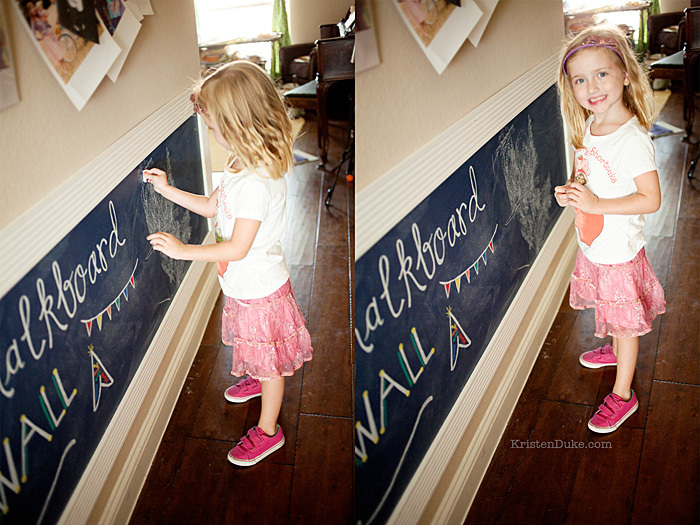
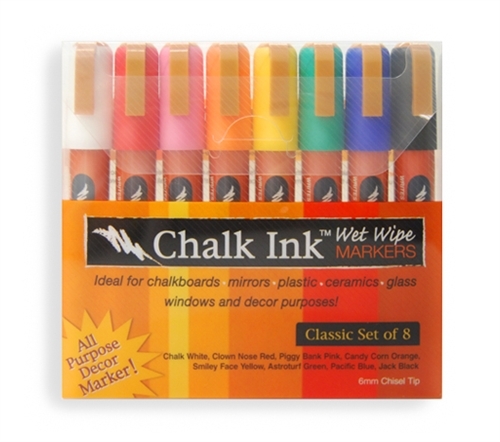
When I was prepping to write on it, I felt paralyzed with the anxiety of my not-so-pretty handwriting. I looked up a few tutorials for writing pretty (and found some from the Lily Pad Cottage, In My Own Style, and Lilacs and Longhorns) that I will for sure refer to again. Multiple explanations and tips really help me. When I expressed my nerves to my sister in law Julie (who is currently living with us) and asked her if she had pretty handwriting, she didn’t hesitate to say, “yes!” I like that…know your talents. We pulled out the new Liquid Chalk Markers I found online, and she got to work. (These markers are pretty fabulous, they are wet wipe to come off, so don’t come off with touching of the hand, it also looks pretty when in use!)
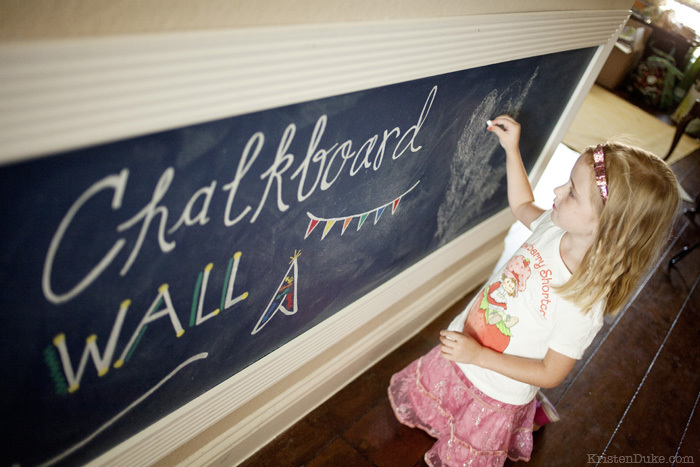
The little ones approved!
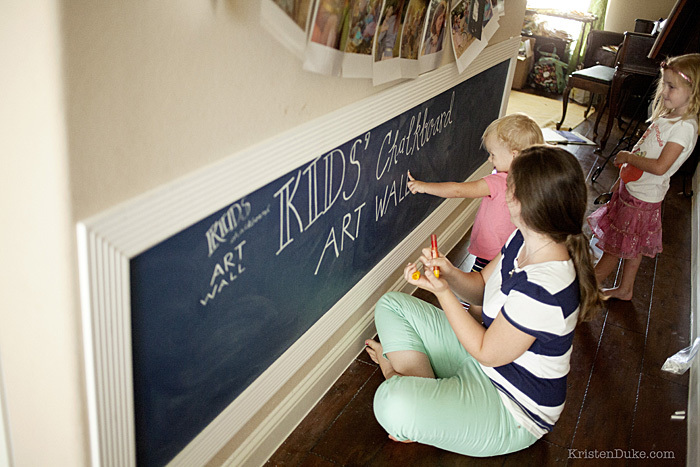
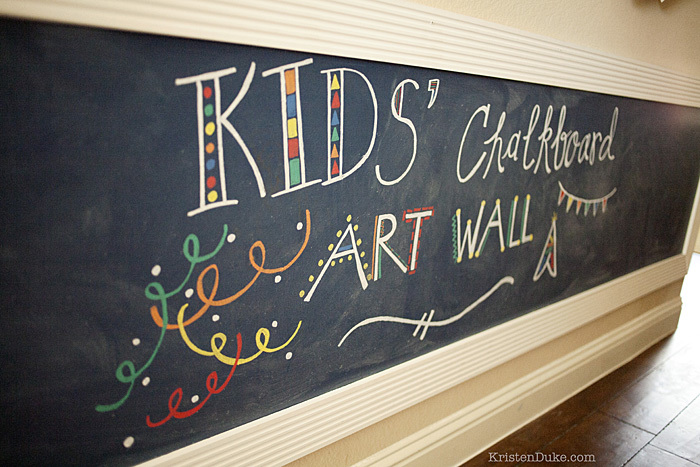
All of my kids can spread out at the same time and play, they love it!
So go ahead, you know you’ve wanted to make your own chalkboard (I have for a while). If you’ve got textured walls, or can’t find the chalk paint color you want, it doesn’t matter! You can do it all yourself!!!.
Kids 2100
Kids 2100
×
- Get link
- X
- Other Apps
Comments
Post a Comment